
Making a CMS experience using dataverse, lists, forms, views, liquid and fetchXML
Displaying the employee data on the public web page combining fetchXML, html, css and liquid
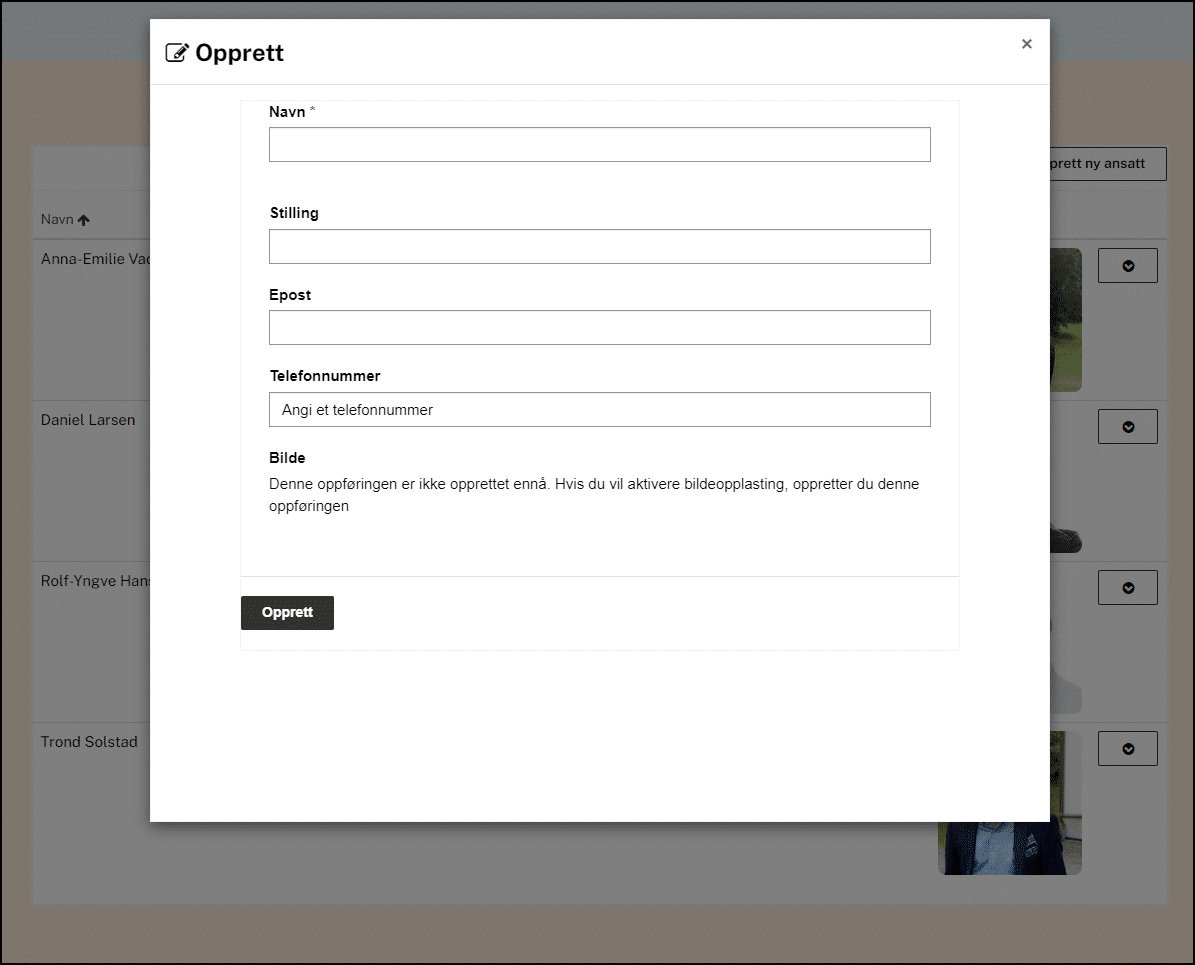
In short, we want to display the data from the list here on the public page..

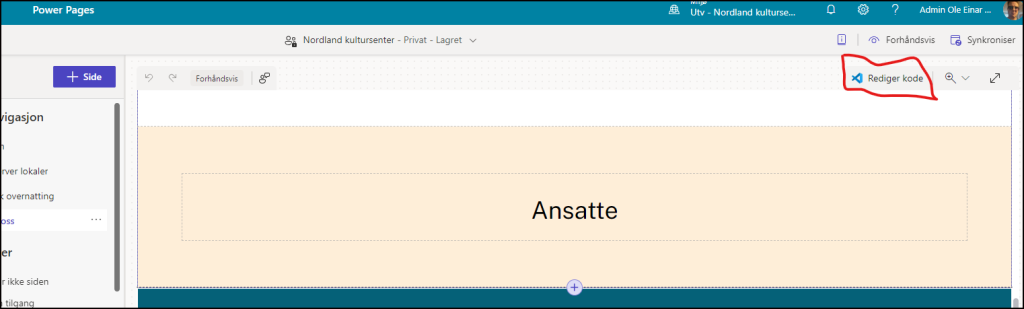
First we go to the code behind the scenes. I use to open the code in VS code in my browser from the maker studio.
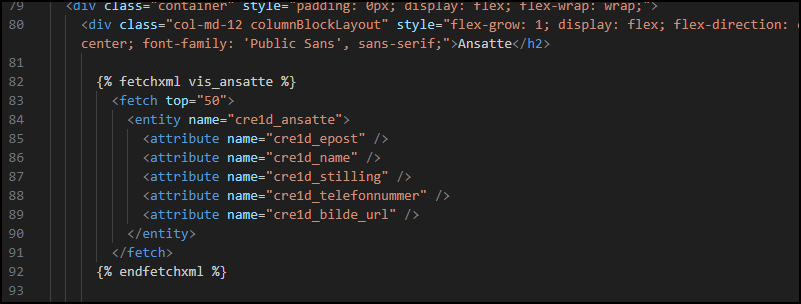
In the code, locate where the employees should show up, make som space, and pass inn the liquid code where we will declare the data we fetch from out dataverse table. We also assign it to a variable. (In English the variable ‘vis ansatte’ could be ‘display_employees’.).
      {% fetchxml vis_ansatte %}

      {% endfetchxml %}
Next we contruct the fetchXML code to put inside the liquid. I use the Fetchxml builder from Jonas Rapp in the XRM Toolbox for this purpose.
Connected to the environment in our case we construct the fetchXML like this.

The output.
<fetch top="50">
  <entity name="cre1d_ansatte">
    <attribute name="cre1d_epost" />
    <attribute name="cre1d_name" />
    <attribute name="cre1d_stilling" />
    <attribute name="cre1d_telefonnummer" />
    <attribute name="cre1d_bildeid" />
  </entity>
</fetch>
IMPORTANT! For the image column we have to use the use the dataverse logical name and append _url to it. (Huge thanks to Ritika Agarwal.)
Looking up the logical name under advanced setting in our dataverse Ansatte table.

Our altered fetchXML then becomes.
<fetch top="50">
  <entity name="cre1d_ansatte">
    <attribute name="cre1d_epost" />
    <attribute name="cre1d_name" />
    <attribute name="cre1d_stilling" />
    <attribute name="cre1d_telefonnummer" />
    <attribute name="cre1d_bilde_url" />
  </entity>
</fetch>
We paste it in.
Now we create a liquid for loop to traverse through all our rows and output the employees in divs. We use 3 columns in the full area width in desktops, which means we set col-md-4 for each unit. We also center the entire row.
Our complete code.
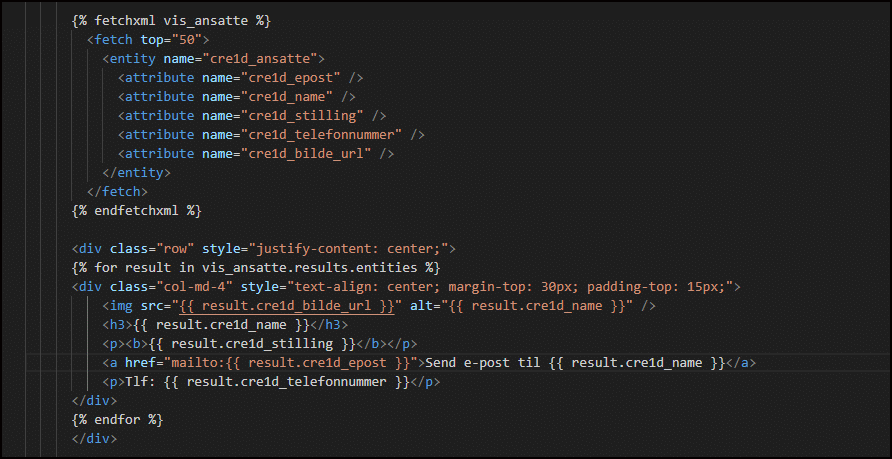
The final result.


