
Making a CMS experience using dataverse, lists, forms, views, liquid and fetchXML
Creating a form for altering the data
Our customer will need to create or edit table data in a form assosiated with the table. In the maker portal, go to the table and chose Forms.
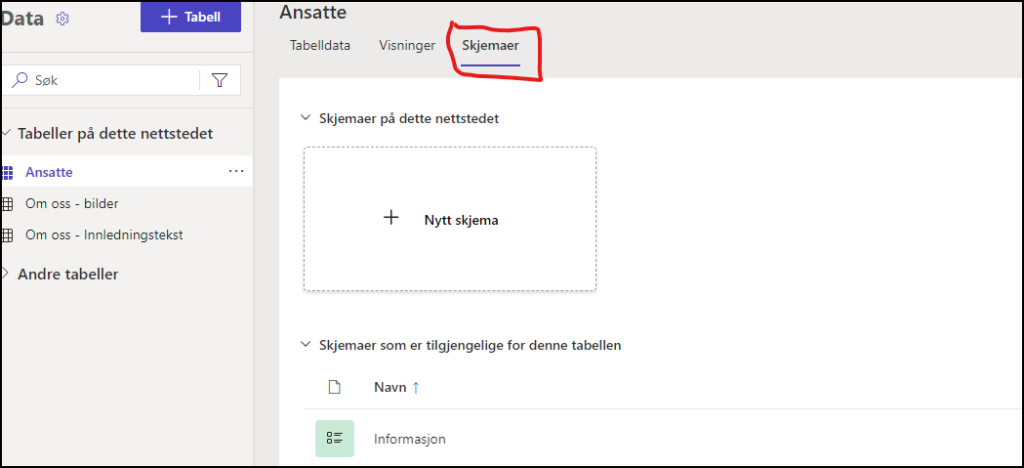
We could make a new form, but in our case we just edit the form provided by the portal itself. We click the Informasjon (Information) form.
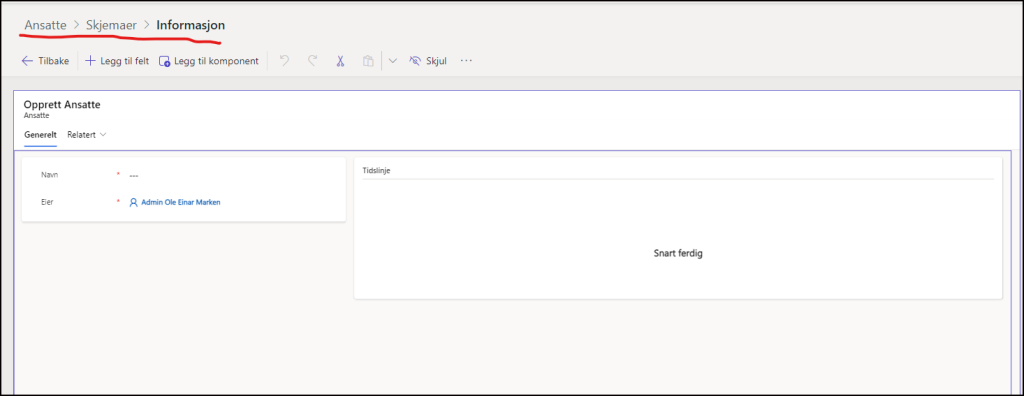
In this case we want a slightly other user experience than the default, so we start selecting the data fields area.
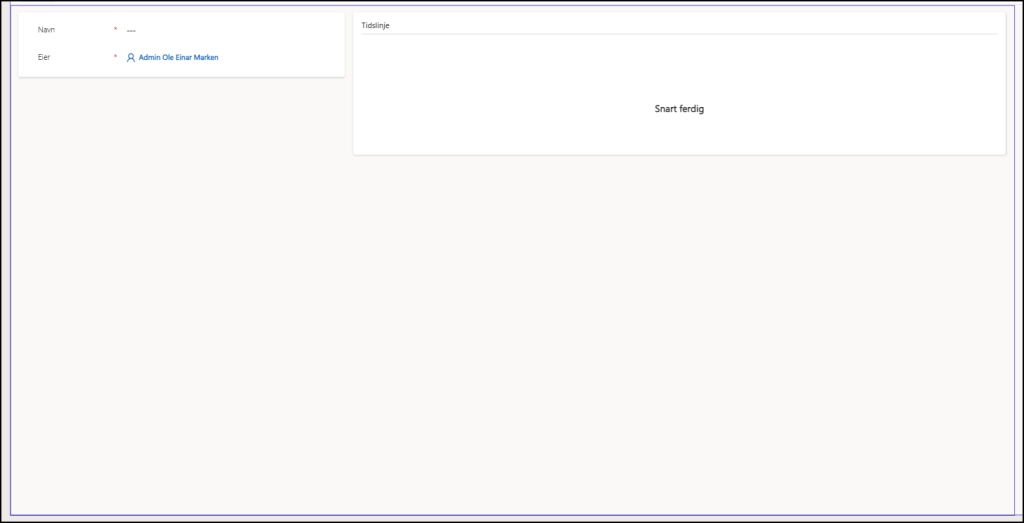
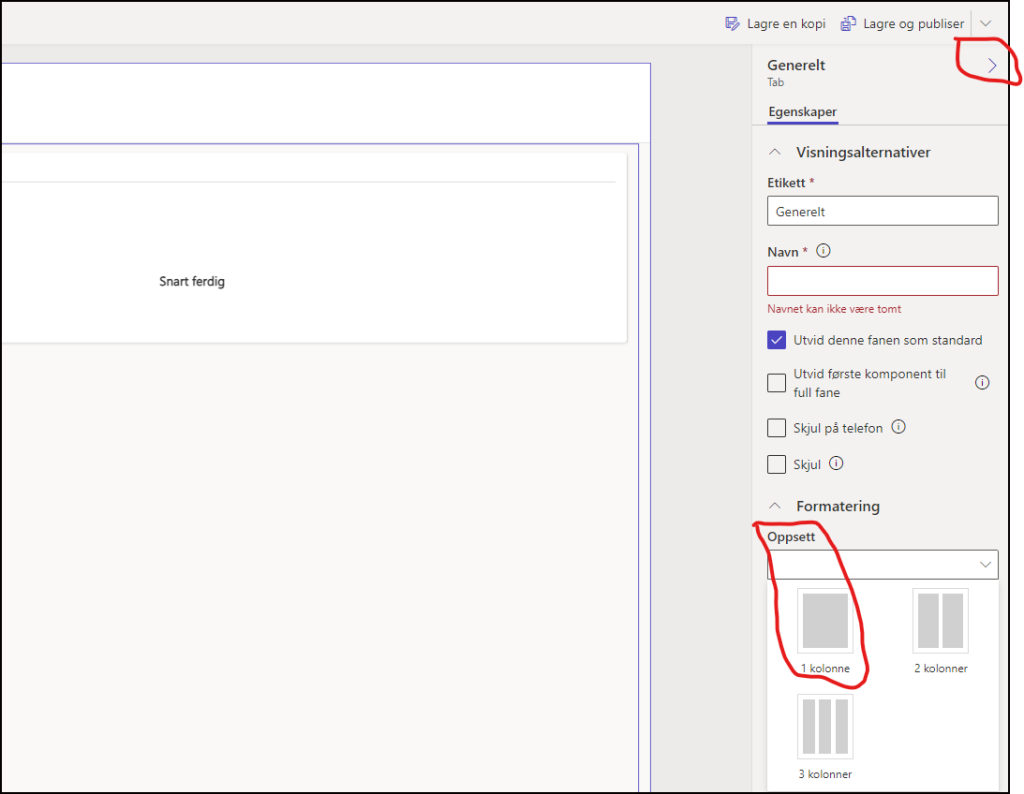
Now expand the General tab to the right and from the setup chose 1-column.
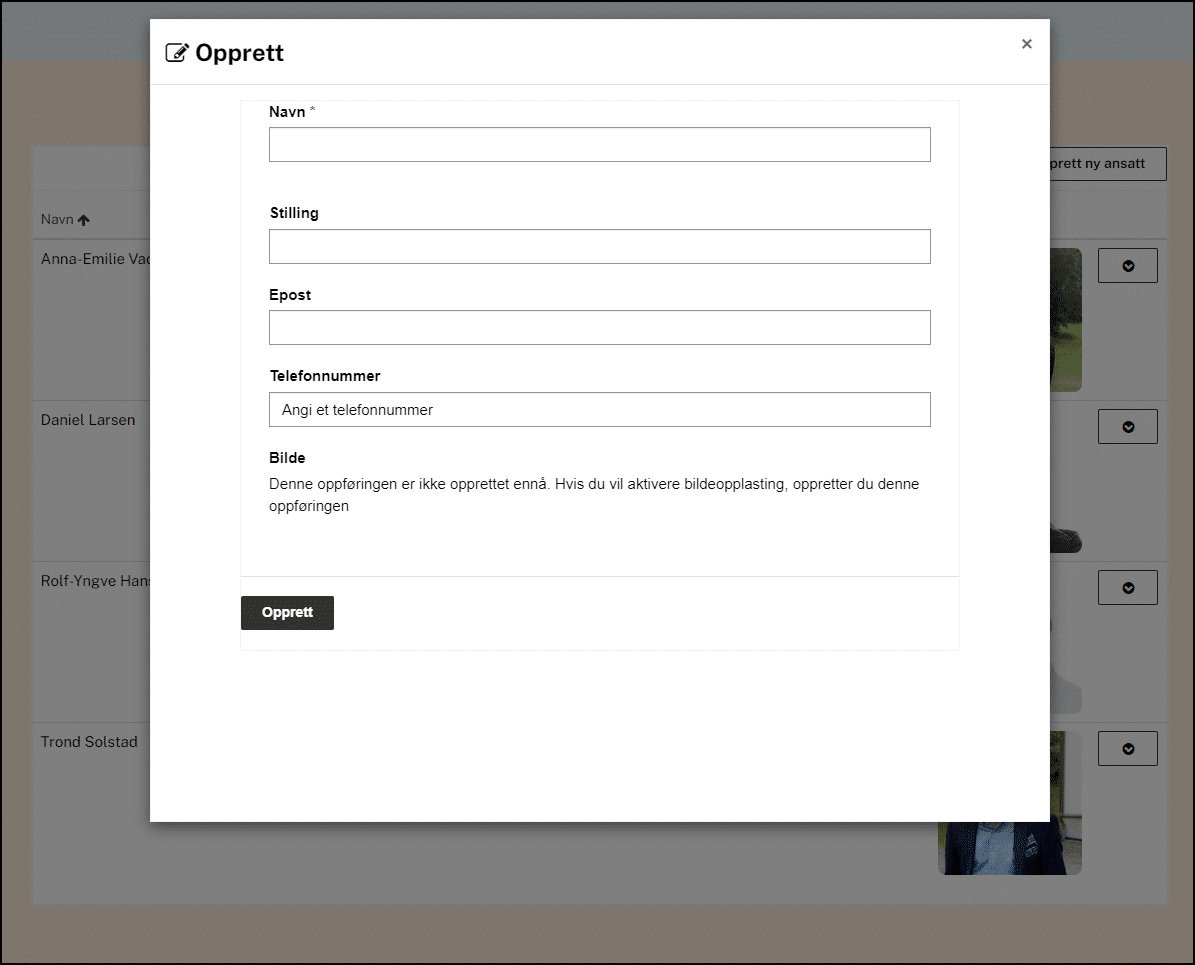
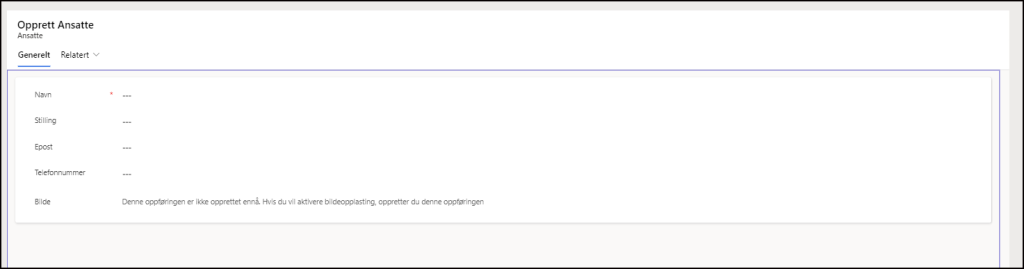
Now we get a more proper form view for our case. Now select the fields. In the end it looks like this.
Save and publish and we are good for now.
