Making a CMS experience using dataverse, lists, forms, views, liquid and fetchXML
Since this is a real case for a real customer, the example data texts are in Norwegian. However, I guess that won’t be much of an obstacle.
The idea came after reading Franco Musso’s excellent blog.
Another blogs that helped me out several timea are Nicholas Hayduk’s Engineered Code blog and Ulrikke Akerbæk.
The case
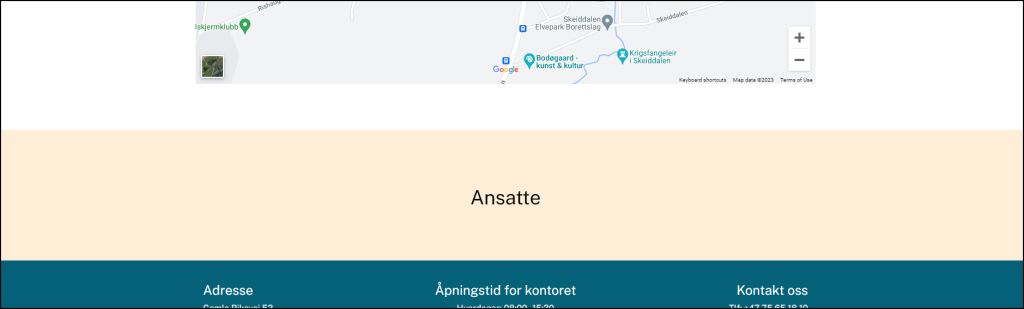
In the yellow section of this web page we want to display the employees (ansatte) of the company. This could be done using the power pages studio (make.powerpages.microsoft.com), and the out of the box experience in a static way. The challenge is that we don’t want to allow the owners of the page to directly use the studio to manage their employees over time.
Another way is to code behind the scenes in a traditional way, but then we also should consider why use power pages in the first place.
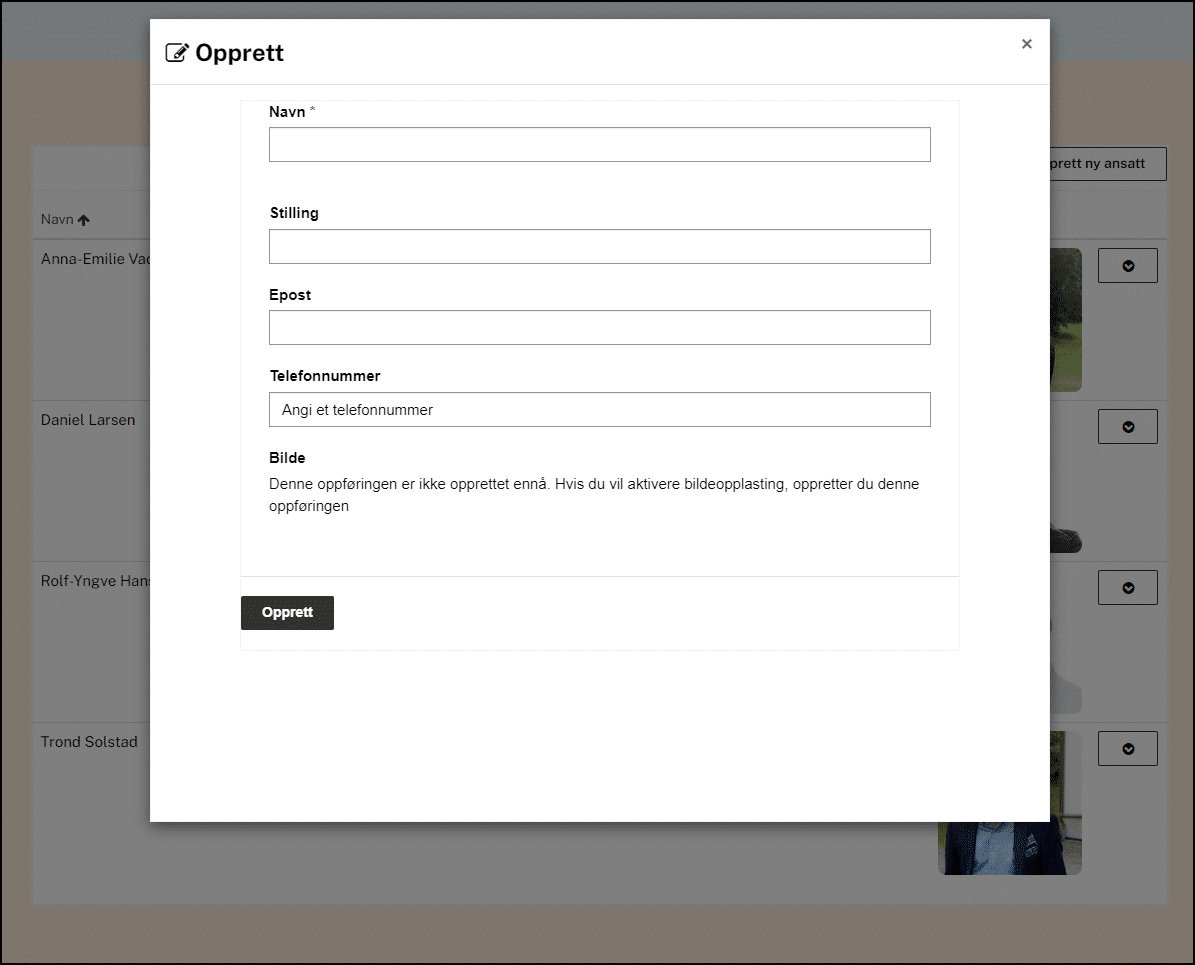
Our approach is to mix power pages out of the box features and programming. We will take use of the out of the box features regarding lists, views and forms and do some programming behind the scenes to show the data properly. We will use a separate page (with restricted access) to allow for a CMS for our customer.
The data model
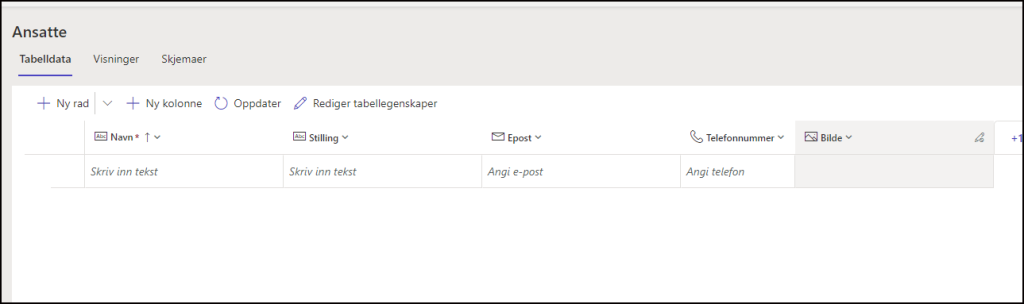
There will be one table/entity with the following colums/attributes:
- navn – the full name of the employees – in my case I use this column as the primary key/unique identifier (you should use an id column if you will allow for several people with the same name)
- stilling – the job title
- epost – the email address
- telefonnummer – the phone number
- bilde – the employee image
We will create this table in the dataverse for the web site. For the images we will use the attachment column type – this will store the image files in the Azure blob storage.
If you want to manually take control over the view order on the web page you could make a column with unique numbers and sort from lowest to highest. In many cases you also would create a column for status to possible set employees inactive. That way you could set them active again if they come back to work. And more not mentioned here.
Creating the table in dataverse
We will do advanced setup in the portal management admin center later. For now we simply create the table in the power pages maker studio.
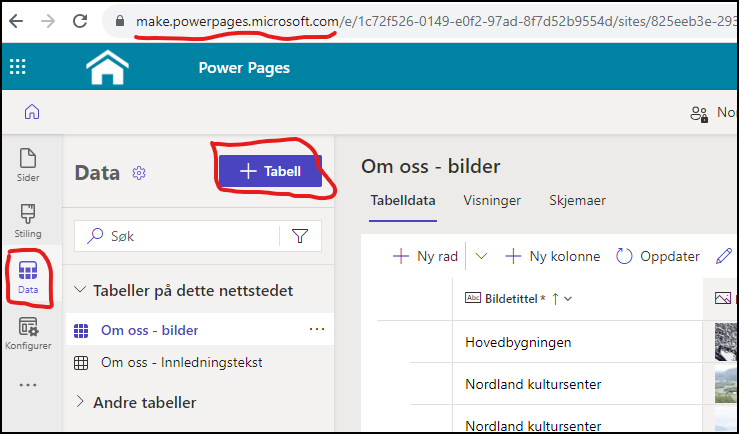
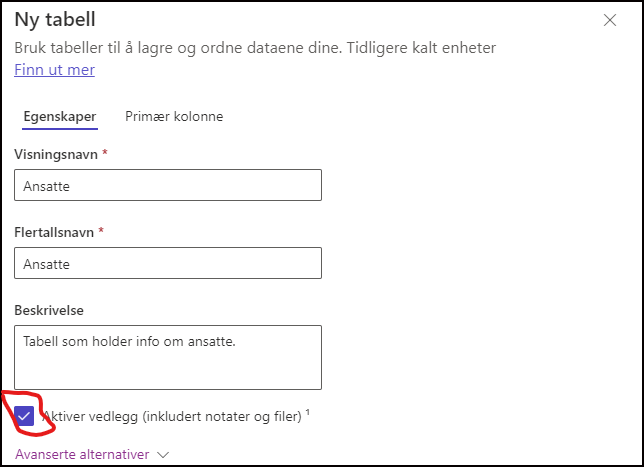
IMPORTANT! Remember to activate the attachment feature.
Go ahead adding the required columns. Remember that in dataverse you can specify the text field to hold, email, phone number, etc. Use this feature. The image field is set to File->Image.