Making a CMS experience using dataverse, lists, forms, views, liquid and fetchXML
Test the CMS and add some data to the list (dataverse table)
Go back to the CMS page in the maker portal. Synchronize and Preview the page.
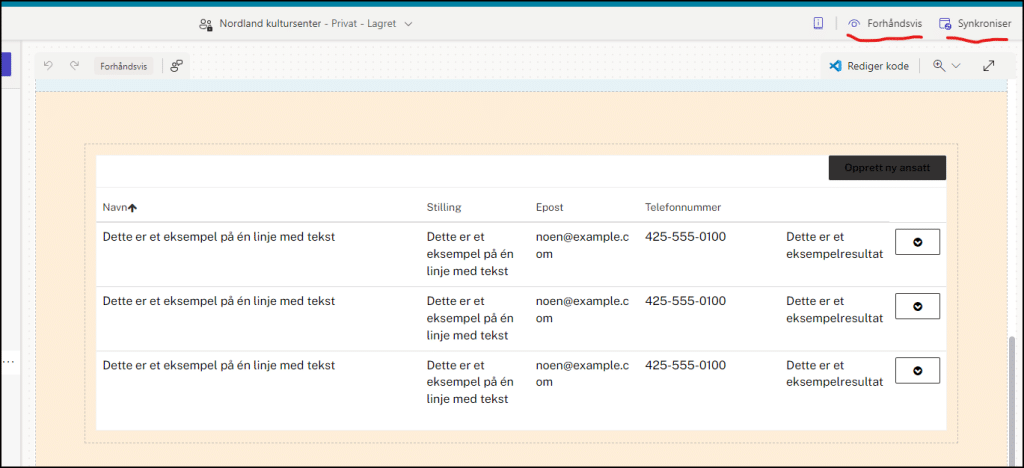
Now the list section on the page looks like this. Notice the Create employee button (Opprett ny ansatt).
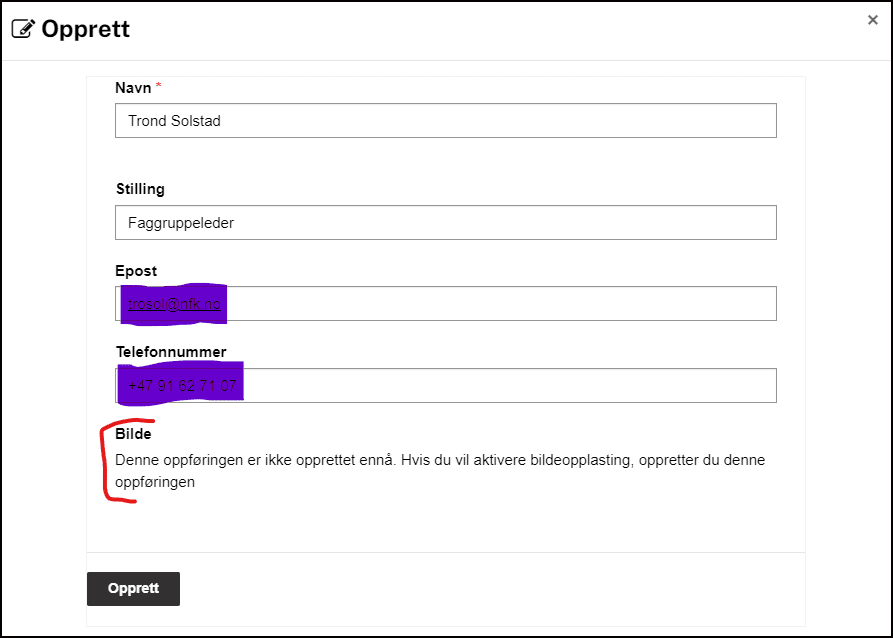
Note! The image field will be unaviable on create. We will have to create the database record before we can upload the image. In other word: We firste create the other fields and then update the record adding the image after that.
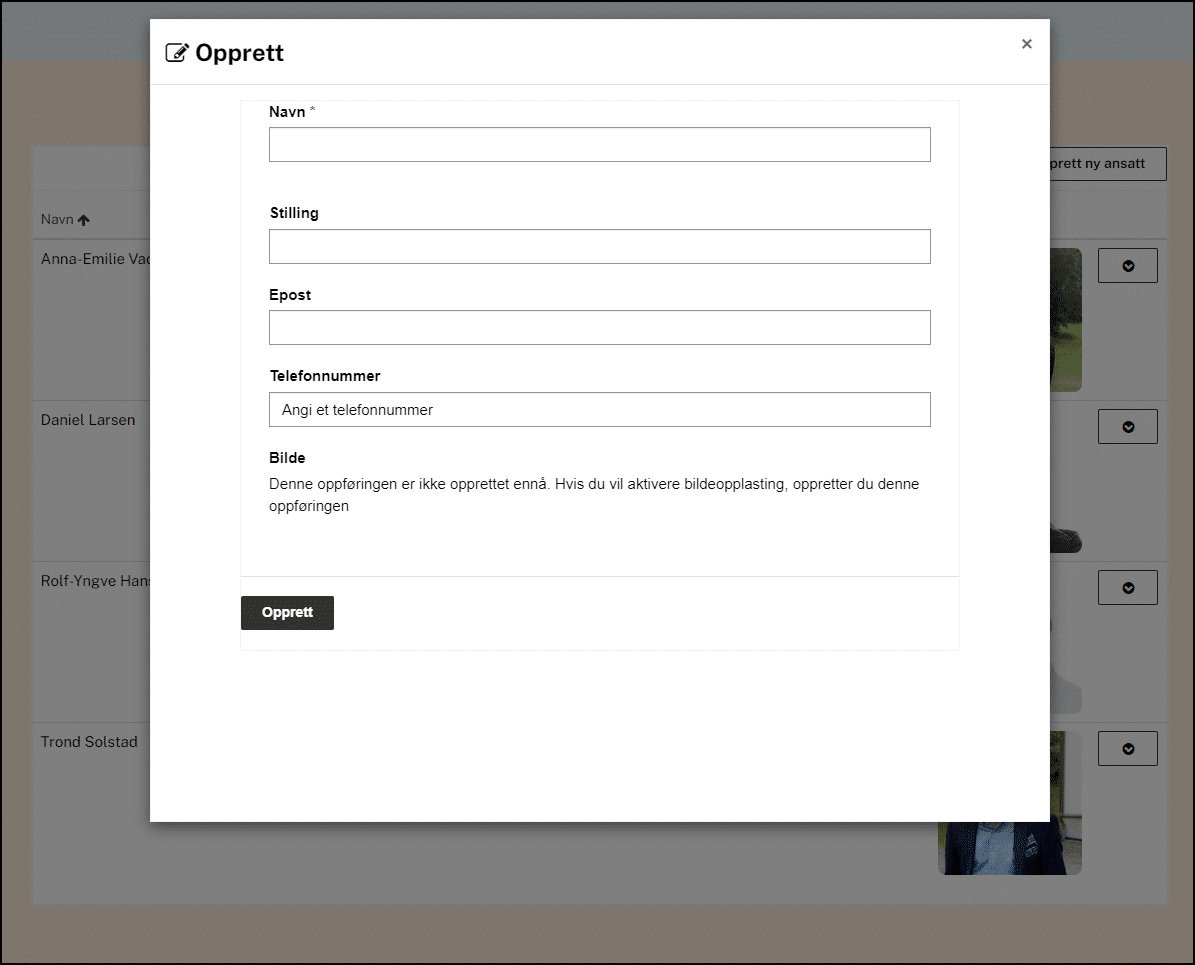
The create dialog looks like this. Let’s create a record.
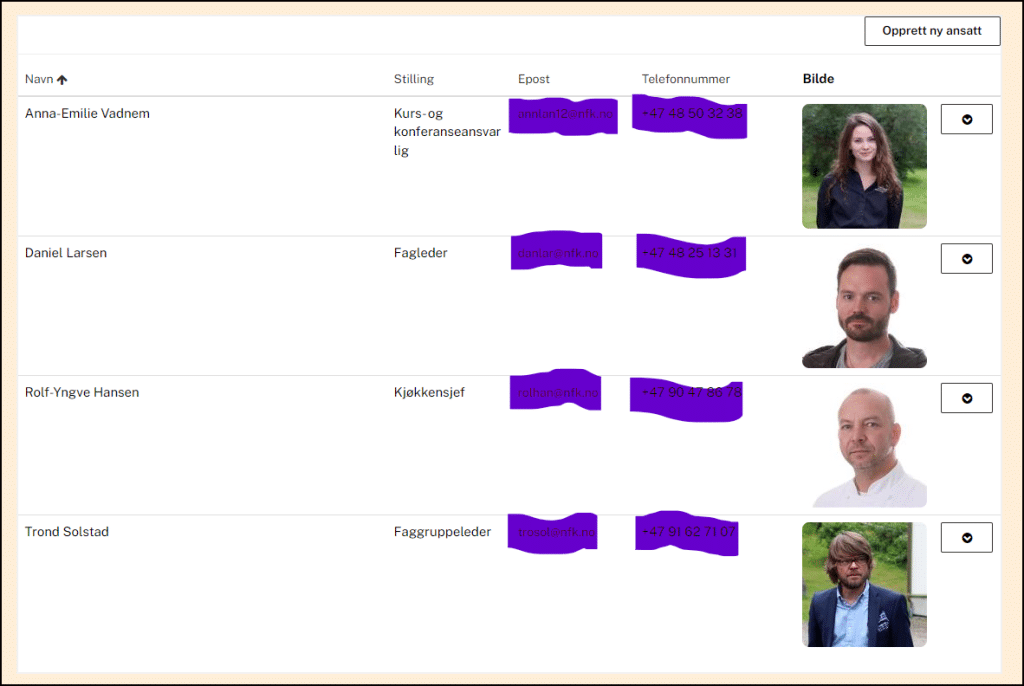
The CMS list is now updated. And we also got a clickable option button to the right of the record.
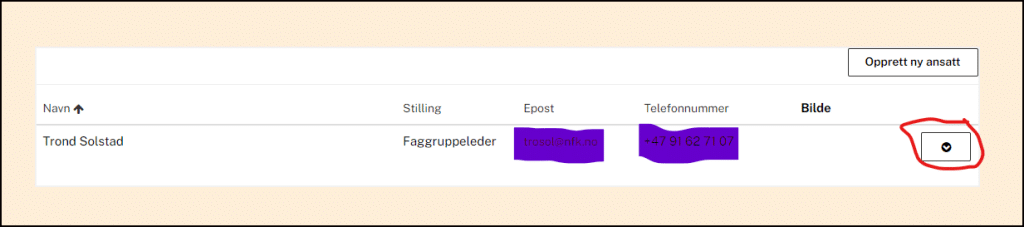
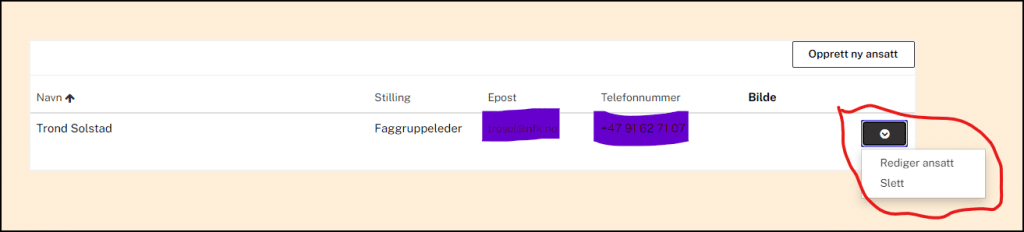
Clicking on the option button will give us the possibility to update (Rediger ansatt) og delete (Slett) the record. Let’s click to update it (REdiger ansatt).
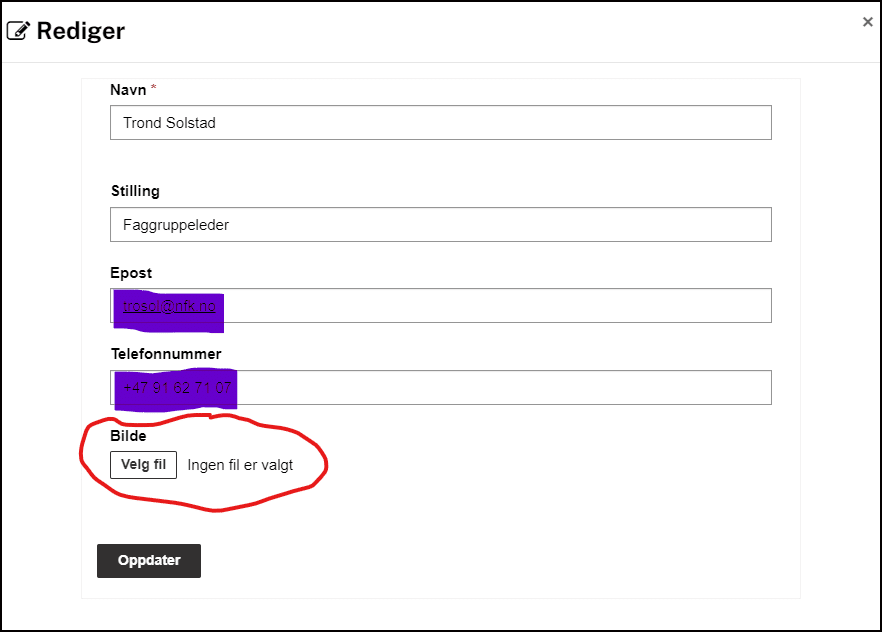
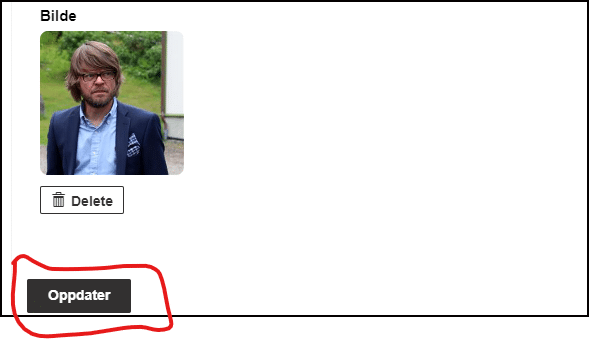
Now we are able to upload an image.
We should always strive to keep the image fil size as small as possible. And how big in terms of width and height is necessary for our use? On this web site we use employee images of size 250px x 250px. The file size for each image is approximatly 10kB.
The list after updating with image.

Let’s create some more records before we display the data on the public web page.